Did you know that e-bike injuries requiring emergency room visits have increased by 70% in the last four years? With speeds reaching up to 28 mph, it’s vital to prepare well before riding. This is key for your safety.
Spending a few minutes on Electric Bike Pre-Ride Preparation before riding can save you from a bad experience. Unlike regular bikes, e-bikes mix human effort with motor help. This makes them special and requires extra safety steps.
The rules for riding e-bikes vary a lot in America. In California, class 3 e-bikes are okay on roads but not on many trails. In Colorado, they’re allowed on many mountain biking paths. It’s important to know the local rules and wear a helmet that fits right.
Before you ride, check your battery, test the brakes, and make sure everything is tight. These simple steps help keep you safe and your bike in good shape for longer.
At ebikesus.com, we’ve seen how getting ready right can change the ride for many cyclists. Whether you’re riding to work or on trails, these safety tips are for all e-bikes in the US.
Table of Contents
Key Takeaways for Electric Bike Pre-Ride Preparation
- Always wear a properly fitted helmet, because e-bikes go faster than regular bikes
- Learn the local e-bike rules, as they differ a lot from state to state
- Make sure your battery is charged and all connections are secure before you go
- Check your brakes, lights, and tire pressure as part of your pre-ride routine
- Look over the frame and parts for damage or anything loose
- Make sure your visibility gear works well, for safer rides in the dark or early morning
The importance of a comfortable and correctly fitted helmet
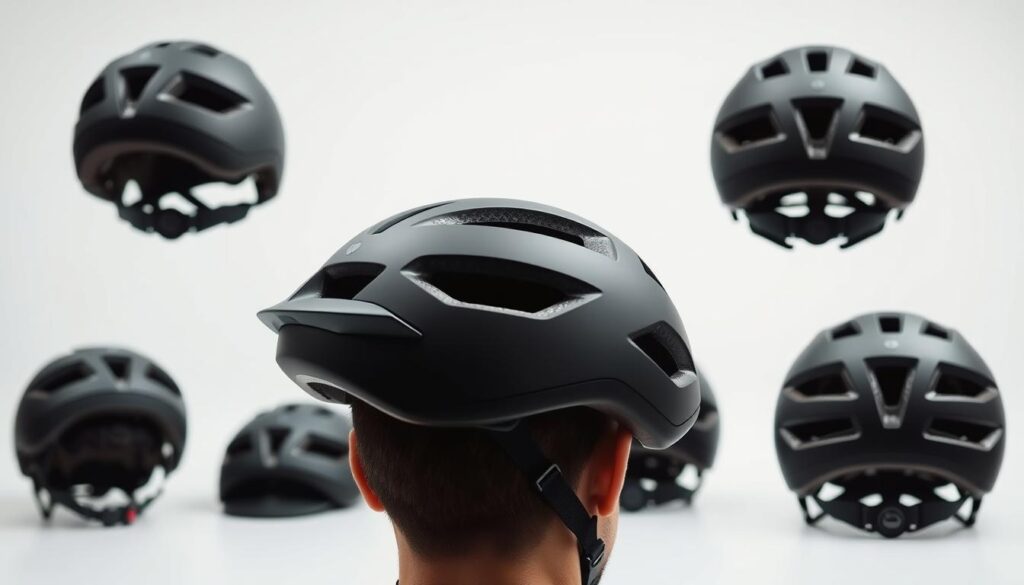
Your helmet can make a big difference in safety. E-bike riders need extra protection because of their speed. A helmet that fits right is key to staying safe.
Helmets can reduce head injuries by 85%, says the National Highway Traffic Safety Administration. E-bikes can go up to 28 mph. So, a good helmet is a must for safety.
How do I know if my e-bike helmet fits correctly?
Finding the right helmet fit is more than just size. It should sit level on your head. You should see the helmet’s rim when you look up.
The helmet should feel snug but not uncomfortable. If it moves too much, it’s too loose. If it hurts, it’s too tight.
Here’s how to check if your helmet fits:
- Put the helmet on your head, low on your forehead (about two finger-widths above your eyebrows)
- Adjust the side straps to form a “Y” shape under and slightly in front of your ears
- Buckle and tighten the chin strap until it’s snug—you should be able to fit no more than two fingers between the strap and your chin
- Open your mouth wide—the helmet should pull down on your head; if not, tighten the chin strap
- Perform the “shake test” by shaking your head—a properly fitted helmet will stay in place

What are the key features of a comfortable bike helmet for regular use?
Comfort is key for wearing a helmet. When choosing a helmet for e-bike rides, look for these features:
Ventilation is very important. Good airflow keeps you cool and dry. Look for helmets with many vents.
The weight of your helmet matters for long rides. Modern helmets are light but strong, using materials like EPS foam and polycarbonate.
Good padding makes the helmet comfortable. The best helmets have padding that wicks moisture and can be washed.
An easy adjustment system is important. Look for helmets with simple, one-handed adjustments.
Understanding helmet safety standards: What to look for
Not all helmets are the same. In the USA, helmets must meet the Consumer Product Safety Commission (CPSC) standard. But e-bike riders should look for helmets that meet higher standards for speed.
The NTA 8776 standard is for e-bikes and offers extra protection. It’s important for riders in the USA.
| Safety Standard | Protection Level | Recommended For | Testing Speed | Key Features |
|---|---|---|---|---|
| CPSC | Basic | All cyclists | 14 mph | Required in USA, impact absorption testing |
| NTA 8776 | Enhanced | E-bike riders | Up to 28 mph | Extended coverage, higher impact protection |
| ASTM F1952 | Advanced | Downhill/aggressive riding | Multiple impacts | Full-face protection, chin bar testing |
| MIPS | Supplemental | All cyclists | Rotational forces | Reduces rotational motion transferred to brain |
When buying an e-bike helmet, check for safety labels inside. These labels show the helmet meets safety standards.
Why is a properly fitted helmet specially important for e-bike riders?
E-bike riders need extra safety because of their speed. A good helmet fit is more important than for regular bikes.
Higher speeds mean more force in crashes. E-bikes can go up to 28 mph, which is faster than regular bikes. This means you need better protection.
E-bikes are also heavier than regular bikes. This makes them harder to stop and increases crash risk. So, a helmet that fits right is even more important.
Many e-bike riders are new or haven’t cycled in years. This makes it even more important to wear a helmet that fits well.
Local laws often require helmets for e-bike riders. Even if it’s not the law, wearing a helmet is essential for safety.
Remember to check your helmet and gear before every ride. Just like checking your battery and following local laws, a good helmet fit is important.
Are there specific visibility aids seniors should use?
Senior e-bike riders face unique visibility challenges. As we age, our reaction times may decrease. This makes it even more important that other road users can see us clearly and from a distance.
Visibility isn’t just about being seen—it’s about being recognized as a cyclist. This is important when riding an e-bike, which can travel at higher speeds than traditional bicycles.
What types of visibility gear are most effective for daytime e-biking?
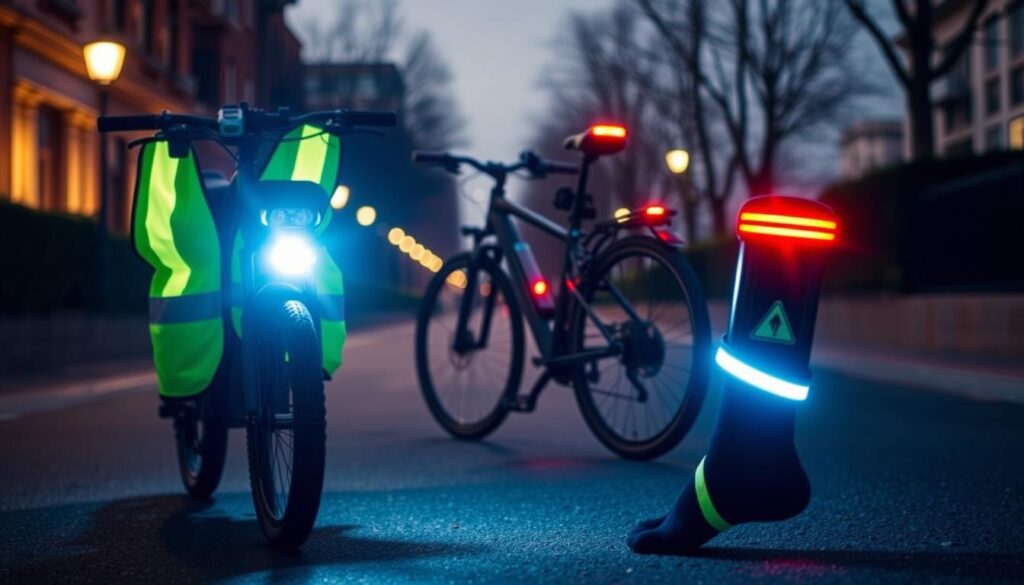
Visibility gear isn’t just for nighttime riding. During daylight hours, high-contrast clothing colors make a big difference. Fluorescent yellow, orange, and green are very effective as they stand out against most backgrounds.
Reflective accents work even in daylight, making you more visible. Look for cycling apparel with reflective piping or panels that catch the light when vehicles approach.

Daytime running lights have changed the game for cyclist visibility. Studies show that cyclists using front and rear lights during daylight hours have up to 47% fewer accidents. These lights are designed to be highly visible even in bright sunlight.
When selecting daytime visibility gear, choose items that don’t require a daily decision. Permanently mounted lights or reflectors that are always ready ensure you never ride without protection.
Best front and rear e-bike lights for senior riders
For senior e-bike enthusiasts, certain lighting features provide additional safety benefits. Front lights with wide beam patterns improve peripheral vision. Look for models with at least 400 lumens for daytime visibility and up to 800 lumens for nighttime riding.
Rear lights with multiple flash patterns are very effective at grabbing drivers’ attention. The human eye is naturally drawn to irregular flashing patterns, making them ideal for increasing your visibility from behind. Many modern rear lights offer special daylight flash modes that are exceptionally bright.
Easy-to-operate light systems are essential for seniors. Look for large, tactile buttons that can be operated while wearing gloves. Also, simple interfaces with minimal modes to cycle through are important.
Many e-bikes come with integrated lighting systems powered by the main battery. These are excellent options as they’re always available and typically designed to be highly visible. If your e-bike doesn’t include integrated lights, consider adding them during your next electrical system test.
Should seniors wear reflective vests or clothing on an e-bike?
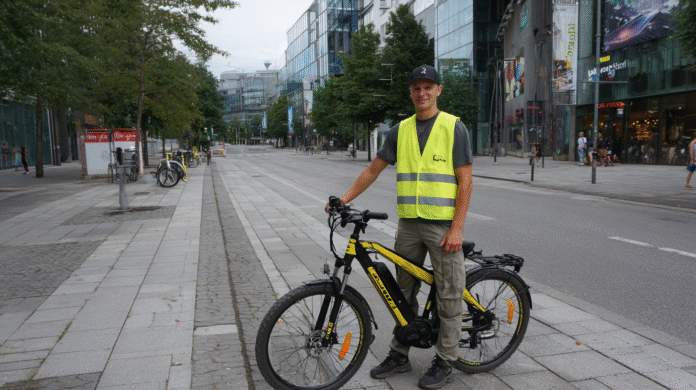
Reflective vests provide excellent visibility and are a smart choice for senior e-bike riders. These vests are designed to make you noticeable from all angles. They’re valuable during low-light conditions or when riding in areas with heavy traffic.
Cycling-specific clothing with integrated reflective elements offers a more streamlined alternative. Modern cycling jackets, jerseys, and pants often include reflective details that highlight human movement patterns. This makes you more recognizable as a cyclist to drivers.
When choosing between dedicated vests and integrated reflective clothing, consider these factors:
- Comfort: Reflective vests can be worn over any clothing but may cause overheating in warm weather
- Convenience: Integrated reflective elements in cycling clothing eliminate the need for additional gear
- Effectiveness: Dedicated vests typically offer more reflective surface area
- Versatility: Vests can be quickly removed and stored if conditions change
For maximum safety, many senior riders in the USA opt for both—wearing cycling clothing with reflective elements for everyday rides and adding a reflective vest for rides in challenging visibility conditions or high-traffic areas.
How can seniors make their e-bikes more visible to traffic?
Beyond personal visibility gear, your e-bike itself can be enhanced to stand out more effectively in traffic. Start by adding reflectors to moving parts like pedals and wheels. The motion creates a distinctive pattern that drivers recognize as a bicycle.
Spoke lights or reflective spoke attachments dramatically improve your side visibility—the direction from which you’re most vulnerable at intersections. These accessories create a circle of light or reflection when your wheels are in motion, making your presence unmistakable.
Reflective tape applied to your e-bike’s frame and fenders is an inexpensive yet effective visibility upgrade. Choose bright colors that contrast with your bike’s paint for daytime visibility while also reflecting light at night. Strategic placement on the sides and rear of your bike maximizes your visibility from all angles.
Consider visibility-enhancing accessories like flags or pennants that extend above the rider. These are valuable for seniors riding recumbent e-bikes or in areas with larger vehicles where being seen in traffic is challenging. The movement of these accessories catches the eye more effectively than static reflectors.
Regular maintenance checks should include verifying that all reflectors and lights are clean and functioning properly. This can be incorporated into your pre-ride routine alongside your brake functionality test and tire pressure check. Ensuring your visibility aids are working properly is just as important as brake testing before each ride.
“The most dangerous phrase in traffic safety is ‘But I didn’t see them!’ Make yourself impossible to miss with proper visibility gear.”
While these visibility recommendations are valuable for senior riders, they represent best practices for all e-bike enthusiasts. By combining personal visibility gear with bike-mounted solutions, senior riders can enjoy their e-bike adventures with greater confidence and safety.
Performing a simple A-B-C (Air Brakes Chain) Check for electric bikes
The A-B-C (Air, Brakes, Chain) check is key for e-bike riders. It’s quick but can prevent big problems. It’s even more important for e-bikes because they are heavier and faster.
Doing A-B-C checks regularly is vital for e-bike maintenance. It should be a habit before every ride. Let’s look at each part of this important safety check.
What does the ‘A’ (Air) involve in an e-bike pre-ride check?
The ‘A’ in A-B-C is about Air. It means checking your tire condition and pressure. Start by looking at both tires for cuts, glass, or unusual wear.
Feel the tire surface for hidden objects. Check the sidewalls for cracks. Cracks can cause blowouts, which are dangerous on e-bikes.
Next, check your valve stems for damage. Loose or damaged valves can leak air. Make sure valve caps are tight to keep dirt out.
How to check e-bike tire pressure and why it’s critical
Right tire pressure is key for e-bikes. It affects your battery charge level and range. Underinflated tires make your motor work harder and use more battery.
To check pressure, use a reliable gauge. Digital gauges are usually more accurate. The recommended PSI is on the tire sidewall.
For most e-bikes in the USA, pressure is between 40-65 PSI. But it depends on:
- Rider weight (heavier riders need higher pressure)
- Cargo load (more pressure for carrying things)
- Terrain (lower pressure for rough trails, higher for smooth roads)
- Weather (slightly lower pressure for better traction in wet)
When inflating, use a pump with a gauge. Electric compressors can help. But don’t overinflate. Check pressure when tires are cool, as riding heats the air inside.
What should I inspect on my e-bike brakes (‘B’) before riding?
The ‘B’ part is about your brakes. Brakes are the most important safety feature on your e-bike. A good brake inspection includes several key things.
First, check your brake pads for wear. Look for wear indicators. If they’re almost gone, it’s time to replace them. For disc brakes, pads should have at least 1.5mm of material left.
Next, look at your brake rotors (for disc brakes) or rim braking surfaces. Check for:
- Scoring or deep grooves that might reduce braking efficiency
- Blue discoloration on rotors, indicating overheating
- Oil or lubricant contamination that can drastically reduce stopping power
- Wobbling when spinning the wheel, which suggests rotor warping
For cable-actuated brakes, check cable tension and look for fraying or kinks. Hydraulic systems should be inspected for fluid leaks. The brake fluid reservoir should be filled as specified by the manufacturer.
Testing e-bike brake lever responsiveness and motor cut-off functionality
E-bikes have a special safety feature: motor cut-off switches with the brake levers. This stops motor assistance when you apply the brakes, preventing the motor from fighting your braking.
To test this, lift your rear wheel off the ground and pedal while applying light pressure to each brake lever. The motor should stop immediately when either brake is pressed.
Check how the brake levers feel. They should be firm but not too tight. There should be some free play before engaging, about 1/4 to 1/3 of the lever’s travel. If the levers feel spongy or go all the way to the handlebar, your brakes need adjustment or bleeding.
| A-B-C Component | What to Check | Why It’s Important | Maintenance Frequency |
|---|---|---|---|
| Air (Tires) | Pressure, tread wear, cuts, embedded objects | Affects battery range, handling, and puncture resistance | Before every ride |
| Brakes | Pad wear, rotor condition, lever feel, motor cut-off | Critical for stopping safely, at e-bike speeds | Before every ride |
| Chain | Lubrication, tension, wear, cleanliness | Ensures smooth power transfer and prevents drivetrain damage | Weekly or after wet rides |
| Battery | Charge level, secure mounting, connection points | Prevents being stranded and ensures consistent power delivery | Before every ride |
Checking your battery charge level before riding is also important. Most e-bikes have a battery indicator. Make sure you have enough charge for your ride, plus extra for unexpected detours.
In cold weather, your battery might not last as long. So, in winter, you might need 20-30% less range. Proper battery charging practices, like avoiding complete depletion, will help your battery last longer.
By doing this A-B-C check before each ride, you’ll stay safe and keep your e-bike in good shape. Regular e-bike maintenance is key.
Understanding your e-bike’s controls and assist levels before setting off
Learning how to use your e-bike’s controls is as important as wearing a helmet. Before you ride, learn how your e-bike works.
How do I turn my e-bike on and off safely?
Most e-bikes start with a button press on the display or battery. Make sure your battery is in place and locked before turning it on. When you’re done riding, turn it off completely to save battery life.
What do the different symbols on my e-bike display mean?
Your display shows battery level, speed, distance, and assist level. Learn what warning signs mean. Each brand uses different symbols, so check your manual.
Practicing with pedal assist levels in a safe area before a full ride
Practice in an empty parking lot or quiet path. Start with the lowest assist level. This lets you feel the motor’s help. Higher levels give more power but use more battery.
How does the throttle control work on an e-bike (if equipped)?
Throttle bikes let you ride without pedaling. Use a thumb lever or twist grip gently. Check local rules on using the throttle on trails or bike paths.
Regular maintenance keeps your e-bike’s controls working well. Understanding your e-bike’s controls makes every ride safer and more fun.


